
The finished torch, resplendent in its Ryobi anti-theft yellow.

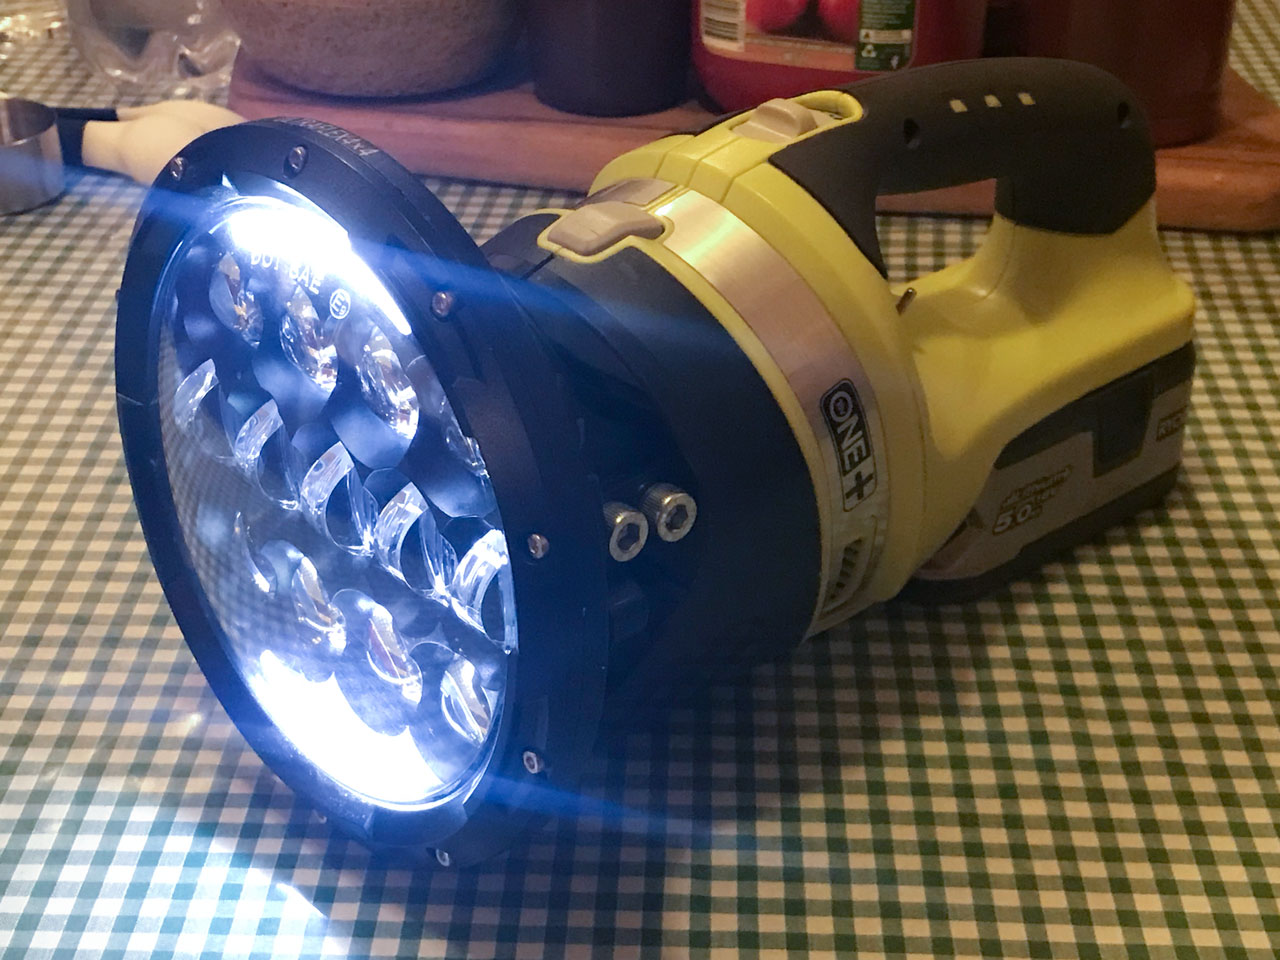
The finished torch. Yes, it is a bit front-heavy. Two hands recommended.
The low current parking light mode.
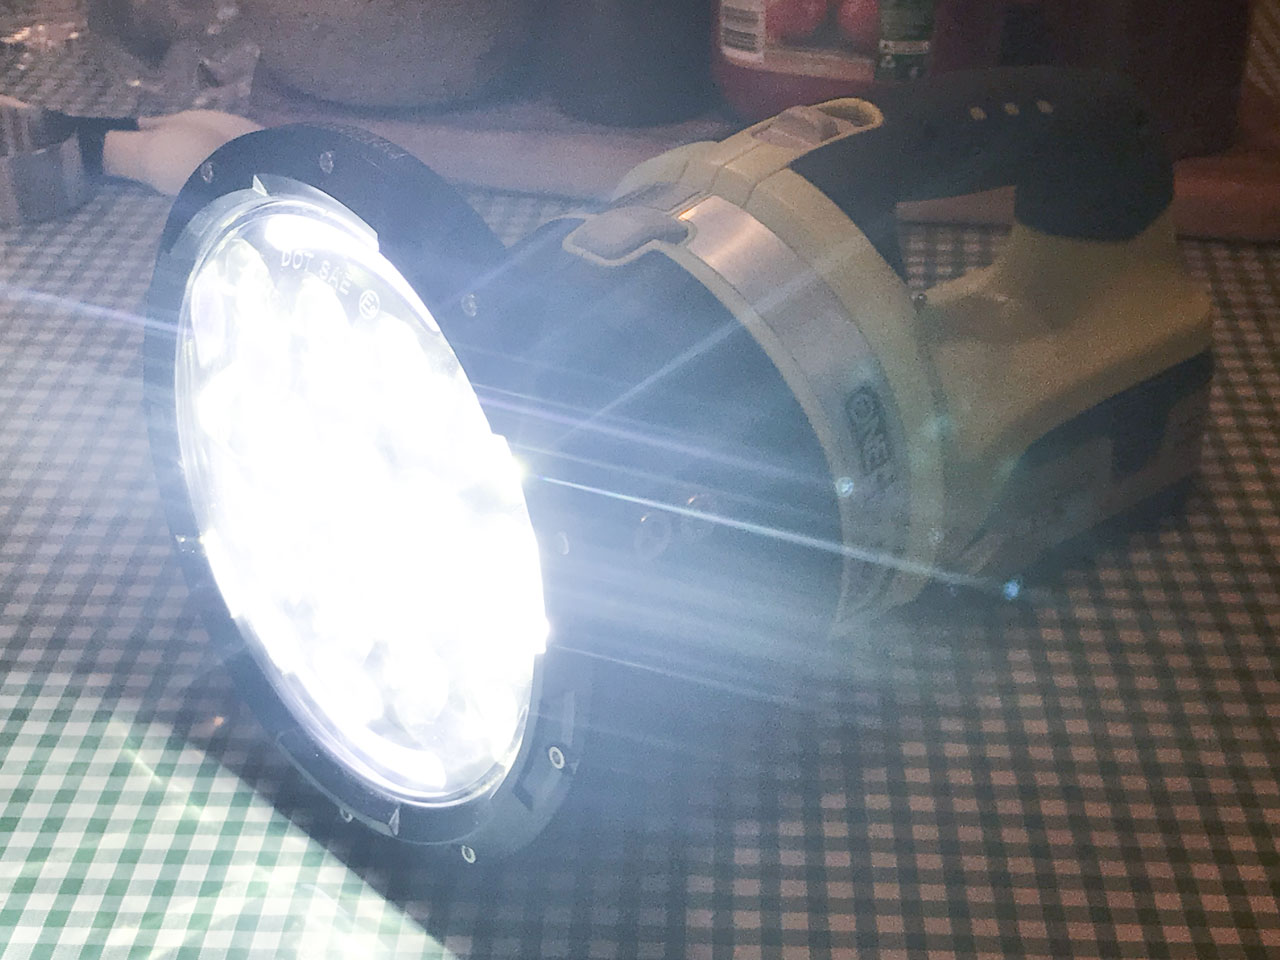
High-beam mode with all lights illuminated. This includes a spot-focused beam that is particularly good for spotting wildlife.
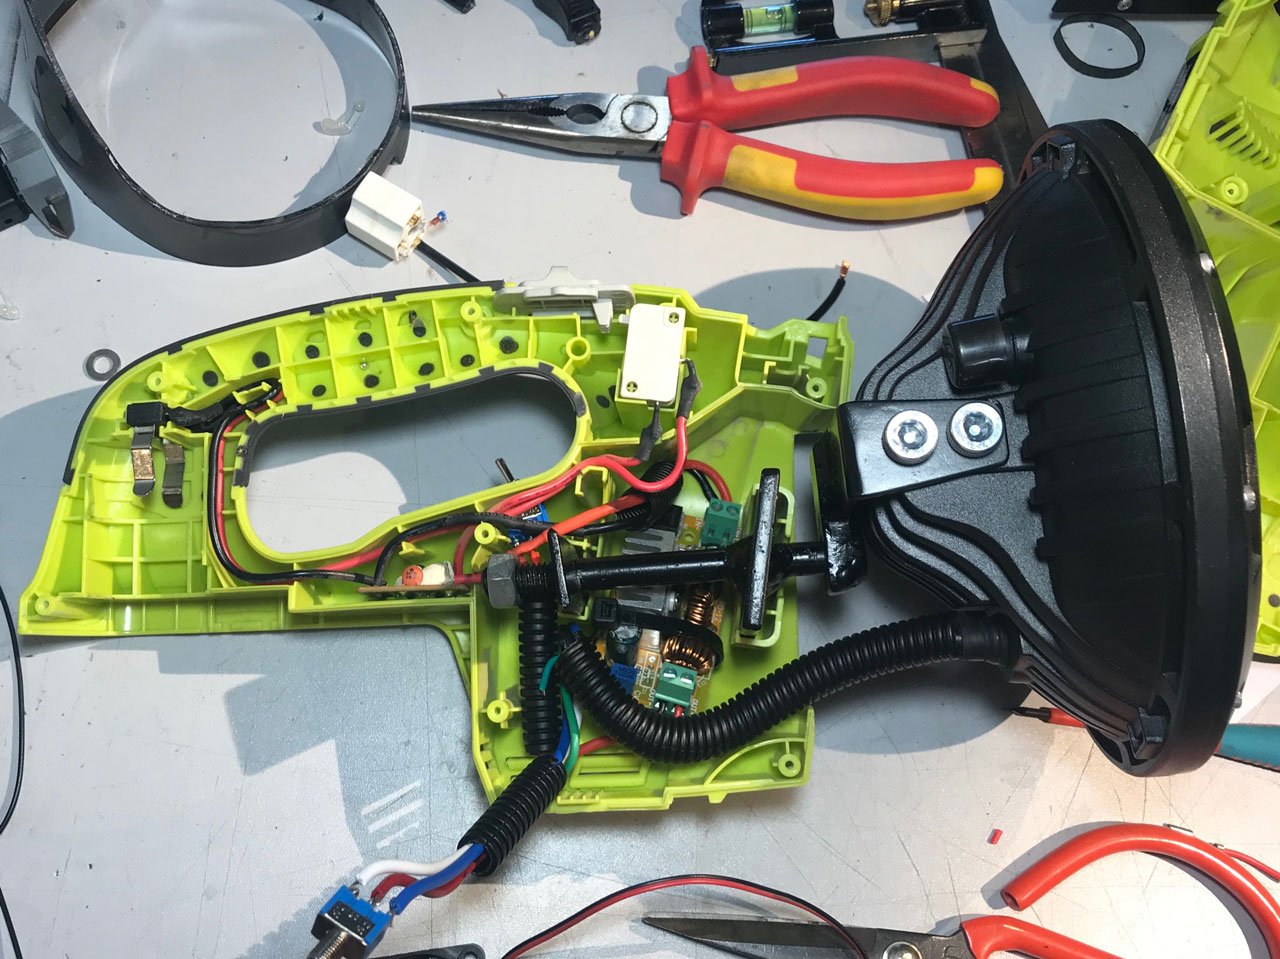
The inner workings prior to installing the cooling fan.
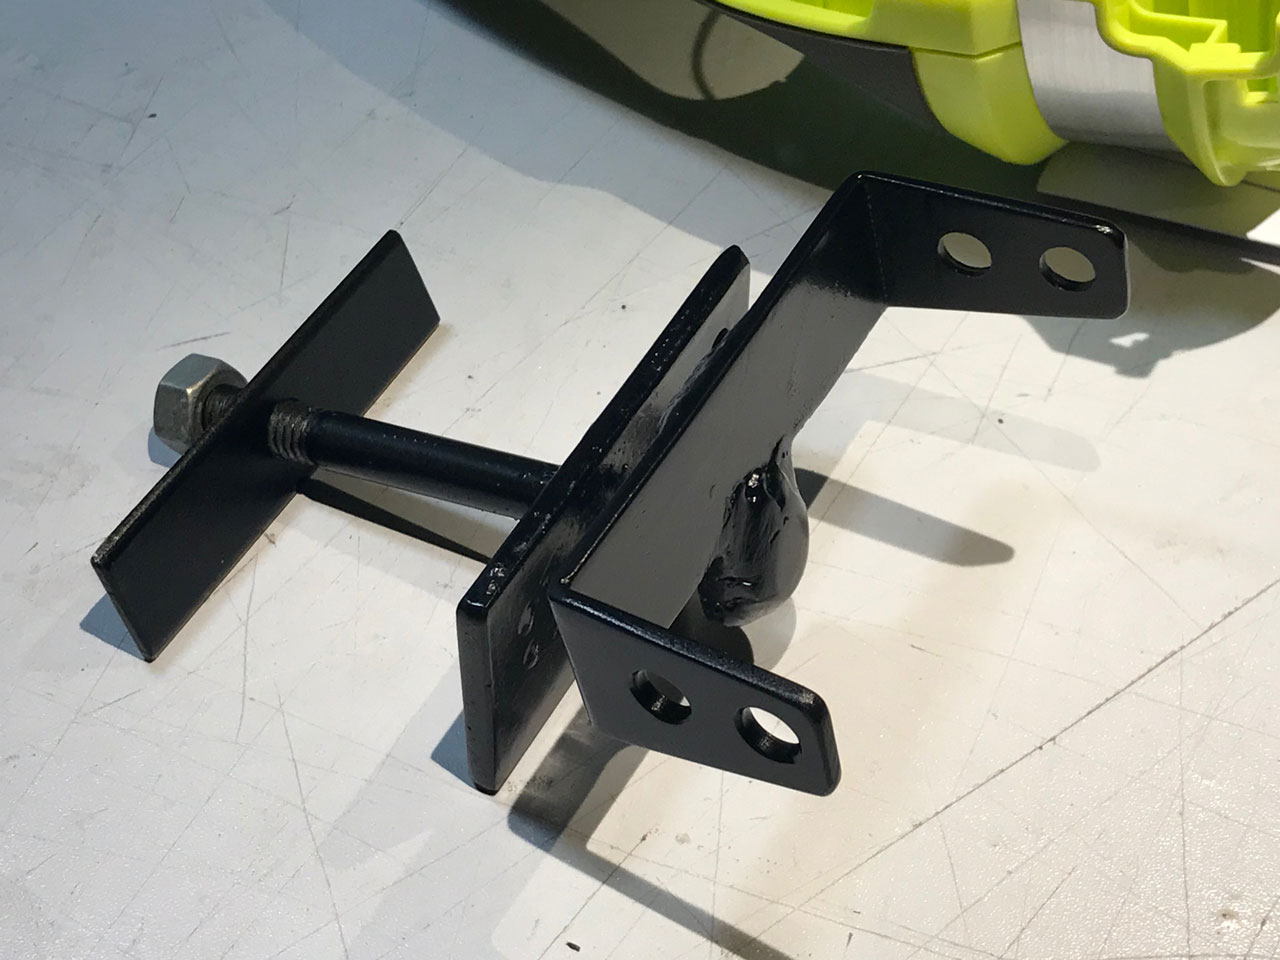
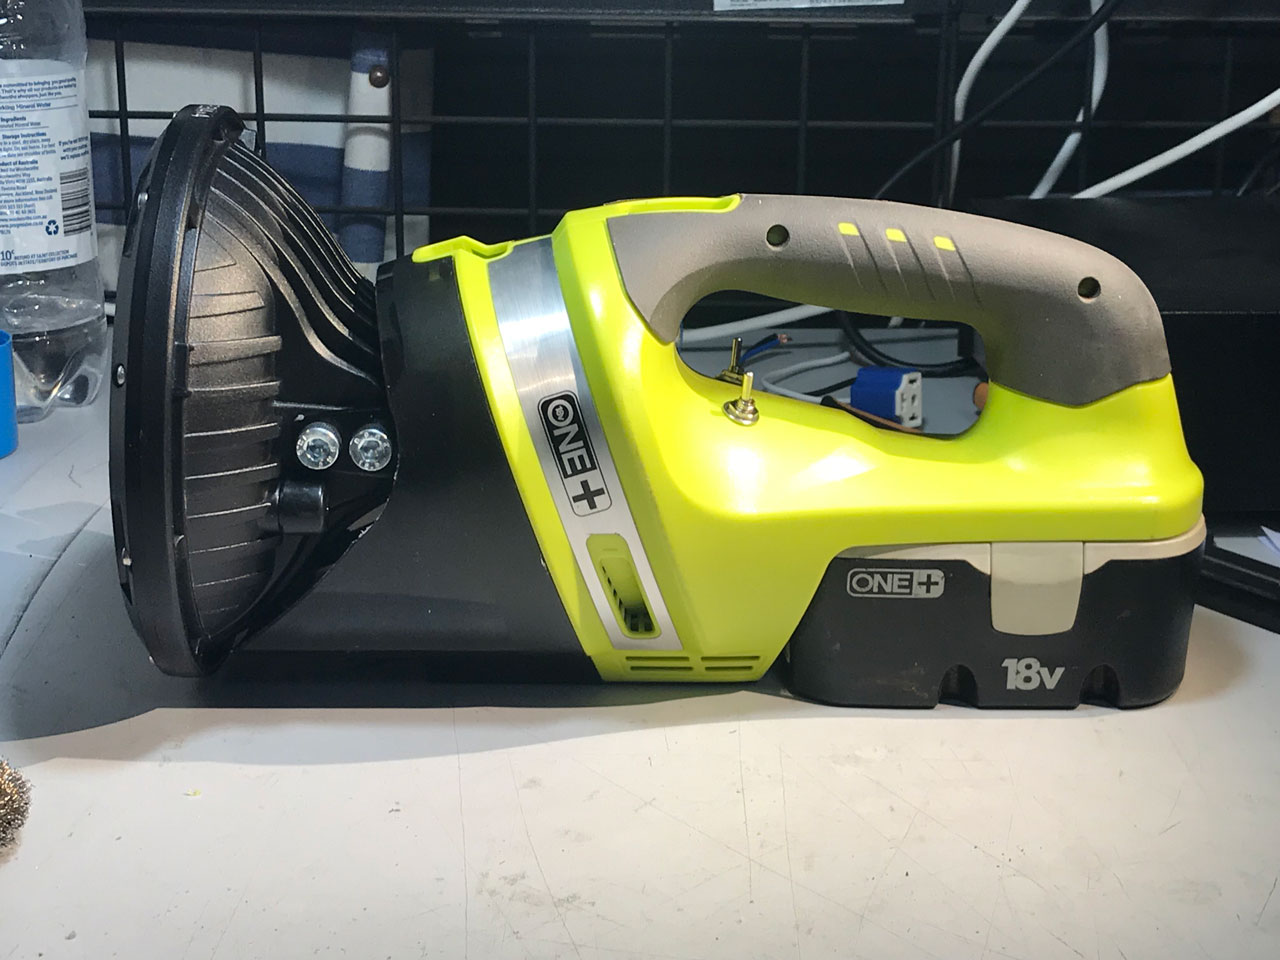
The custom made steel bracket constructed to mount the sealed-beam LED car headlight to the torch body using existing mounting points.
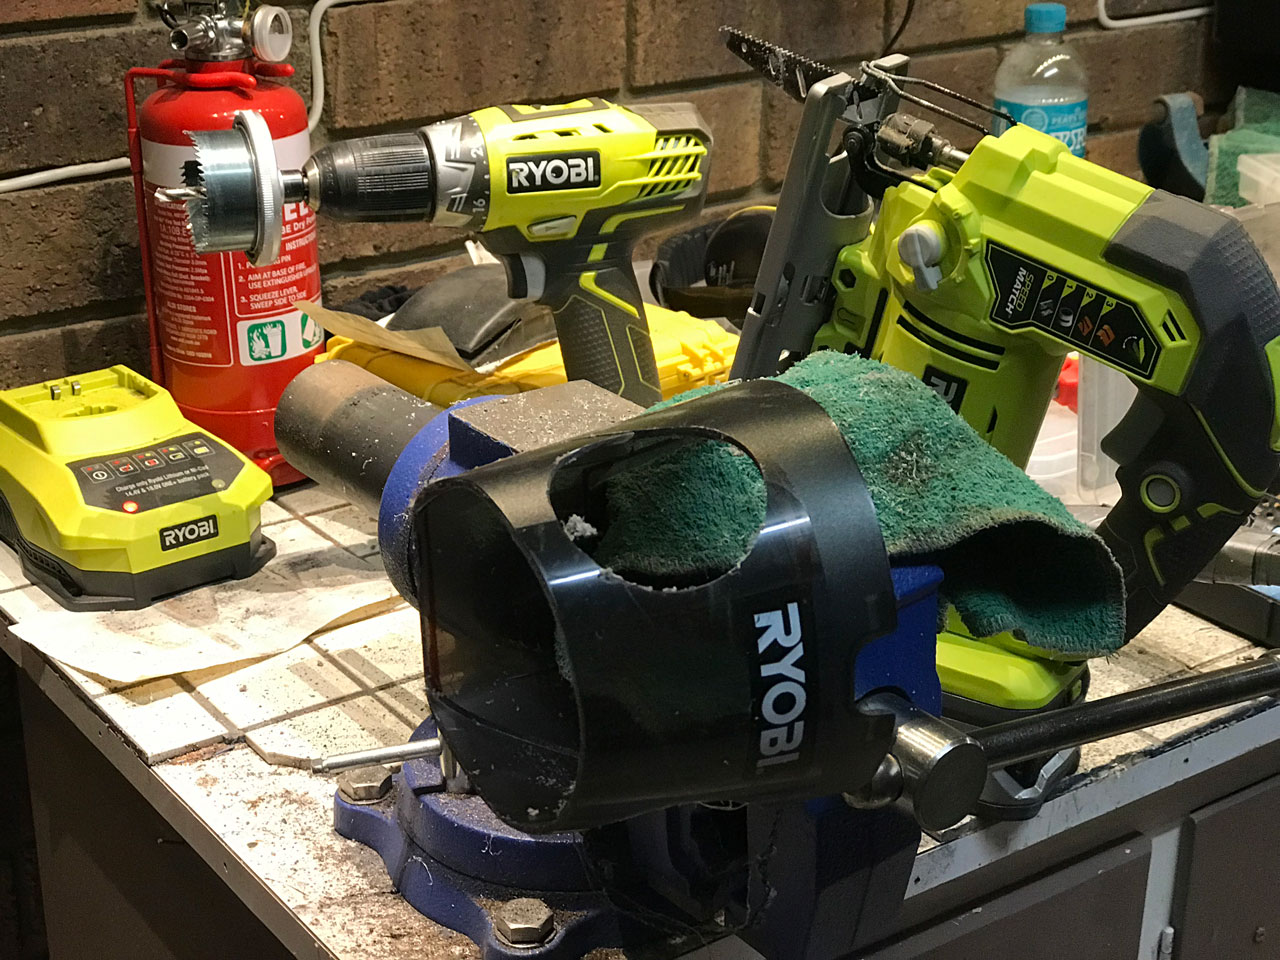
The dust chamber of the vacuum chamber being cut down to serve as a forward shroud.
Years ago I made the mistake of buying a rubbishy dustbuster thing to go with the rest of my Ryobi ONE+ 18V tools. It only took a handful of uses to decide that it was utter crap, yet I never got around to returning it.
That being the case, the next most logical course of action was to use it as the basis for a mad, unnecessary project. The final result is an obnoxiously heavy torch that uses a drill battery to power a 7″ LED car headlight. It is complete with high beam, low beam, park and an “orange” mode which is simply the indicator function run without a flasher module.
Plan A had been to mount two large eBay LED chips on a CPU heatsink and run them via a DC buck/boost regulator. Having bought all of the parts and start assembly, the LEDs proved sub-standard and I just lost interest for a few months.
After one of the LED headlights I installed in the Landy had a single diode failure, it was replaced under warranty and I got to keep the dud. Having a more robust light to work with naturally reignited the project.
The process:
- Test assembly of electronics on the bench to ascertain if it was even going to work.
- Remove motor and filter assembly.
- Trim plastic body of the vacuum cleaner to suit its new role.
- Fashion a steel mounting bracket that would fit to existing plastic supports within the torch body. A little welding and a lot of grinding produced a satisfactory part.
- Paint bracket.
- Buy and trim down M8 socket-head bolts to suit the mounting holes included on the heatsink of the 7″ LED headlight.
- Prune down the former dust chamber of the vacuum cleaner to become the forward shroud of the light. An 18V jigsaw and some fine sandpaper produced a nice edge.
- Install the buck/boost regulator and wire in two DPDT toggle switches to allow for control of the headlight’s four functions.
- Install a small cooling fan over the voltage regulator, wired to come on with the two high-current modes.
- Final assembly and possum-dazzeling tests.